Branches
The locations your business invoices from. A branch is not decoration: each ZATCA device is registered against one, and the branch address is what appears on invoices issued from it.
Who. Admin only.
What you see
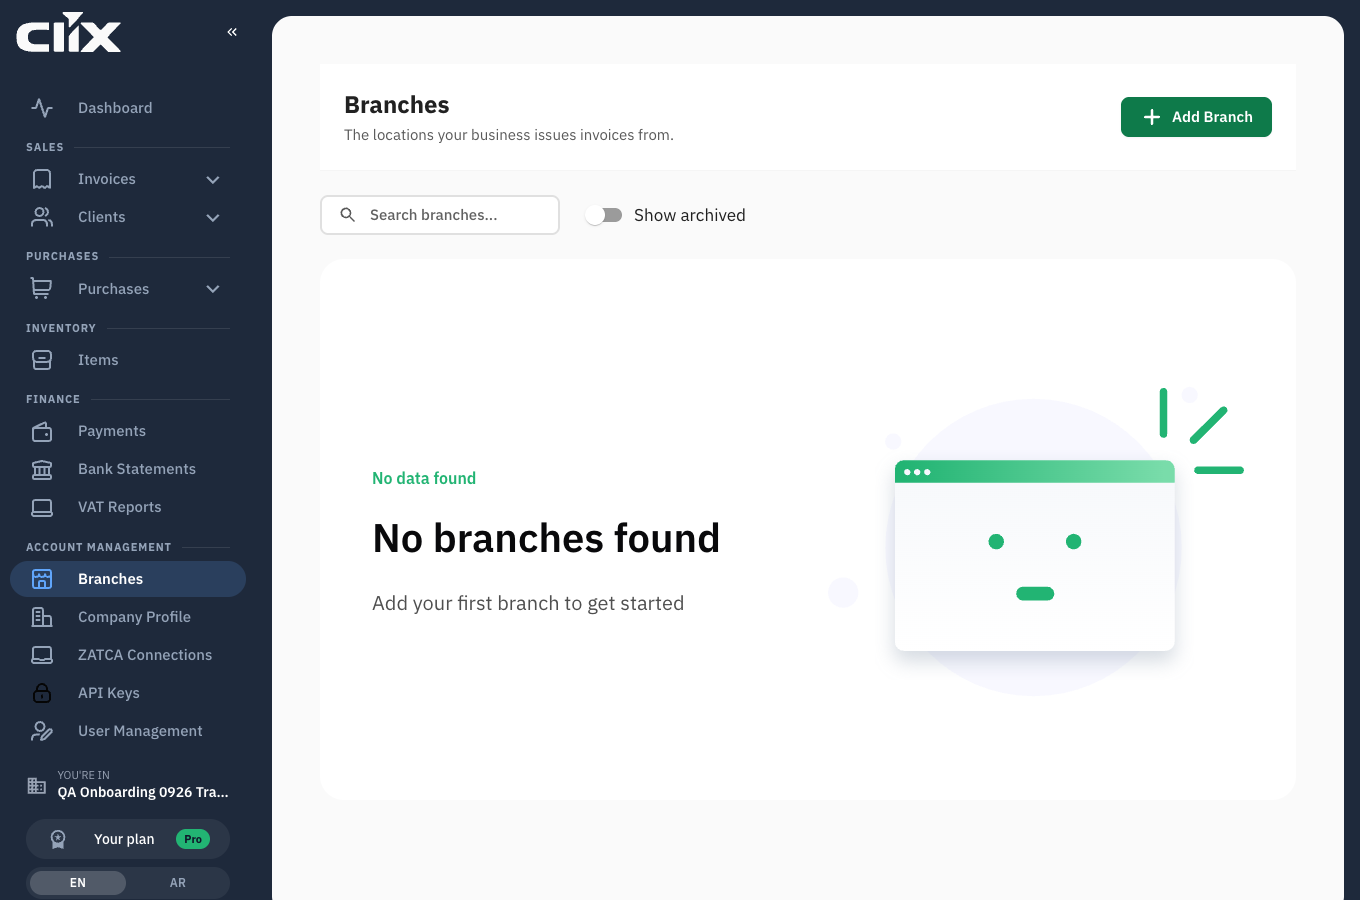
- Branches: every branch you have added.
- Add Branch: opens the branch form.
Do you need more than one?
If you invoice from a single place, the branch created during setup is enough — you never need to return here.
Add branches when you have genuinely separate locations issuing invoices: a second shop, a warehouse that raises its own delivery invoices, a regional office. Each gets its own device and its own address on the invoice.
Tasks
Add a branch
Why. A second location needs its own address on invoices and its own ZATCA device.
Who. Admin.
- Click Add Branch.
- Enter the branch name — what you call it internally.
- Enter the address: building number, district, city, postal code.
- Save.
Result. The branch can be chosen when you register a device.
The address reaches ZATCA
The branch address is submitted with invoices issued from its devices. Correct it before issuing, not after — a cleared invoice keeps the address it was issued with.
Connect a device to a branch
A device is registered to exactly one branch and one invoice type. See Devices and certificates.