4. Add your first client and item
At the end of this step you have someone to invoice and something to invoice for. Both are reusable: the next invoice picks them from a list.
Add a client
A client is a buyer. For a business client ZATCA needs its VAT number and address on a standard invoice; for a consumer a name is enough.
The form has three steps; Continue moves to the next and Back returns.
- Open Clients and click Add Client.
- Step 1, Client Info: enter the Client name (English), used in search, and the Client name (Arabic), printed on the tax invoice. Choose an Industry if you like.
- Choose the Business ID Type and enter the Business ID Number, for example the CR number. For a VAT-registered business switch on VAT Registered, enter the VAT Number and click Validate VAT Number. A standard invoice needs this number, or ZATCA rejects it.
- Click Continue through the contact and address steps. The address is required for a business client.
- Click Add Client.
Result. The client appears in the list. You can group clients later, for example by region, under Clients → Groups.
Add an item
An item is a product or service with a price and a VAT category. Invoices are built from items.
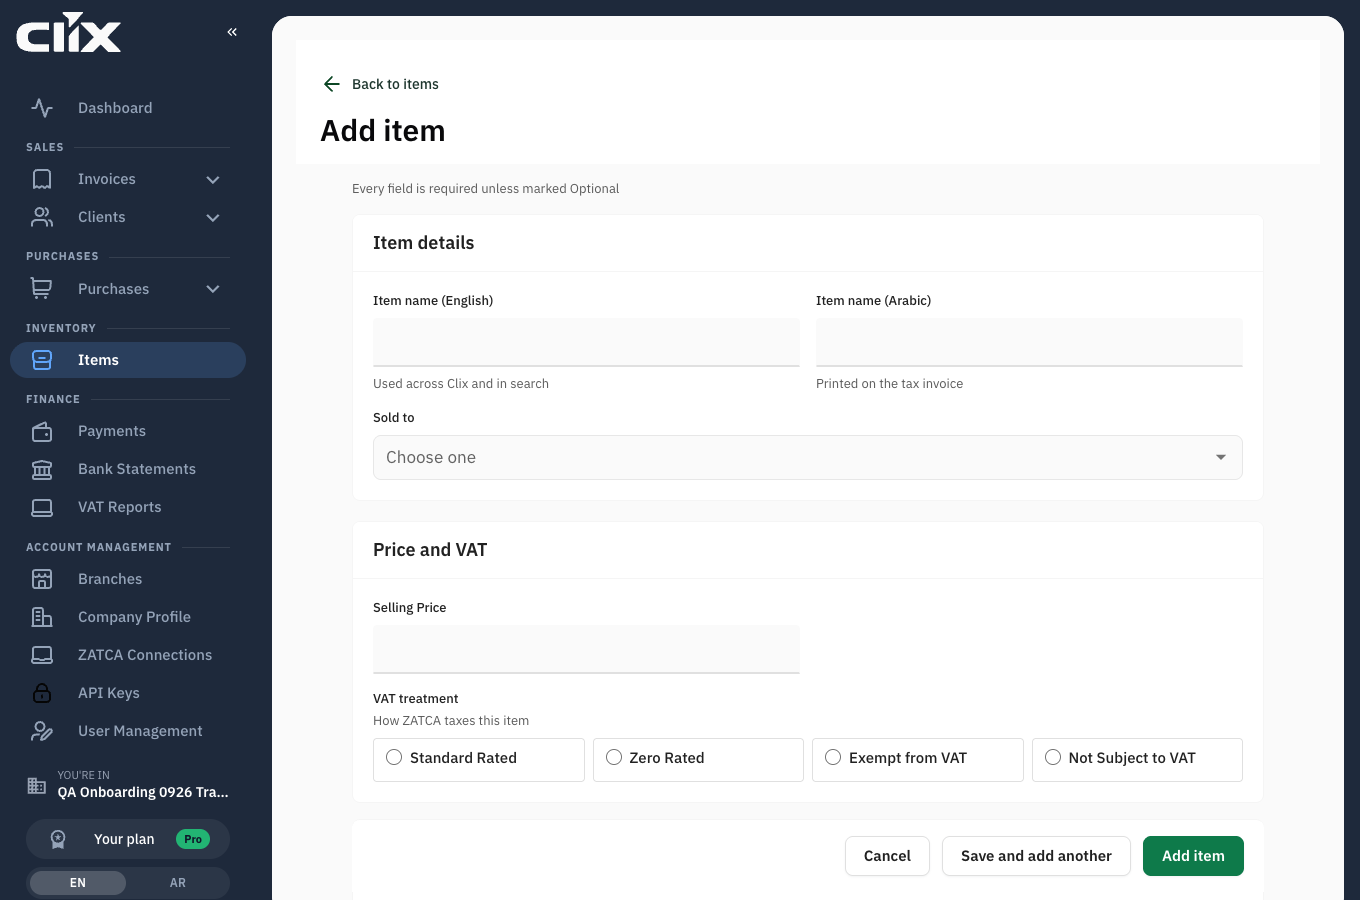
- Open Items and click Add item.
- Under Item details, enter the Item name (English) and Item name (Arabic), and choose Sold to: businesses, consumers or both.
- Under Price and VAT, enter the Selling Price and the VAT category. Most goods and services are standard rated at 15%. Zero-rated and exempt categories need a reason ZATCA accepts; the list shows them.
- Under Stock, choose the Unit of measure and a quantity if you track stock.
- More details holds a photo and descriptions; optional.
- Click Add item, or Save and add another to continue with the next one.
Result. The item appears in the catalogue and can be picked on any invoice.
What just happened
Nothing went to ZATCA. Clients and items are your own records. What ZATCA checks is the invoice they end up on, in the next step.
Next: Issue your first invoice